
- What is Shapeshift
- Shapeshift’s advantages
2.1 You own your cryptos
2.2 Lower fees - Using Shapeshift with Coinbase
3.1 Creating a Shapeshift account
3.2 Verify your Account
3.3 Activate 2FA - How to Use Shapeshift with Coinbase Wallet
- Conclusion
Crypto exchanges have become quite a lot popular over the past several years. As more and more cryptocurrencies show up on the market, the need for more exchanges with new features increases. Among the many exchanges available at the moment is Shapeshift.
This exchange is slightly different from most of the others, and a common question that’s being asked is how to use Shapeshift with Coinbase.
What is Shapeshift?
First, here is a short introduction to what Shapeshift is and how it works.
As I mentioned, Shapeshift is a crypto exchange, but unlike some of the other exchanges we know, this one allows the only crypto to crypto trade. This means that the option to trade cryptocurrencies with fiat currencies is not available. Even though some might consider this a drawback, considering how many exchanges offer fiat to crypto or vice versa trading, Shapeshift has a trick up the sleeve that makes it an attractive choice.
Unlike most of its competitors, Shapeshift is a non-custodial exchange. To those that don’t know what that is, the shortest definition is: it’s a crypto exchange that doesn’t take ownership of your purchased cryptocurrencies.
When you use exchanges like Coinbase, the service creates a wallet that you can use. The problem with this is that the wallet’s cryptocurrencies are not entirely in your possession because you don’t get the private key. The status of the coins remains the same until you decide to withdraw them.
Non-custodial exchanges like Shapeshift remedy the problem by eliminating the wallet. The service doesn’t create a wallet for you, so in order to use the exchange, you will need to link it with your existing wallet. Personal wallets aside, you can also use it with the wallets you get from other exchanges like Coinbase.
Before I explain how to transfer from Coinbase to Shapeshift, I will outline a few advantages that most users are not aware of when it comes to non-custodial exchanges like this one.
Shapeshift’s advantages
When the exchange was launched, it was praised for the option to provide anonymous trading without the need to create an account. While that option is no longer available, there are some other advantages the service offers. Like most well-developed exchanges, Shapeshift has a simple and easy-to-use interface, making it easy even for first-time traders. While it is an advantage, most of the other exchanges are also easy to use, so it’s not something unique.
You own your cryptos
I mentioned this, but it is worth mentioning again. Unlike other exchange services that provide you with a wallet, Shapeshift doesn’t, and that is the advantage. The fact that you will be trading on a non-custodial exchange means that you can use any wallet you want, and when you are done with the trade, the cryptocurrencies will remain in your possession.
Lower fees
Most exchanges charge fees that are not extremely high, but they are also not insignificant. Shapeshift does things differently. They don’t charge service or exchange fees, so you are only paying a fixed miner’s fee. Their website has a list of fees that you can check out, but overall, you are looking at much lower fees than the other exchanges. Keep in mind that the fees change, so double-check them before you make the trade.
Using Shapeshift with Coinbase
To avoid any confusion, this is not a guide on how to combine both exchange services. Instead, it is a guide on how to use Shapeshift with Coinbase wallet. To be able to combine them, you will need accounts on both services. Considering that you are reading this article, you may already have an account on Coinbase, so I will get straight to the Shapeshift side of things.
Creating a Shapeshift account
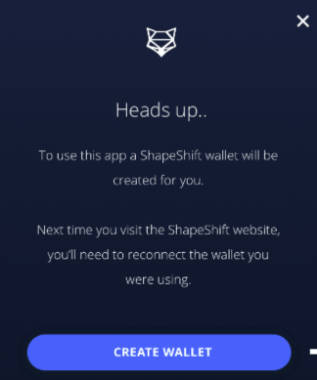
The first step is to create an account on Shapeshift, and the process is fairly simple and straightforward. Navigate to Shapeshift’s website and click “Sign Up” on the popup. Alternatively, if the popup doesn’t show up, you can click on it in the top right corner.
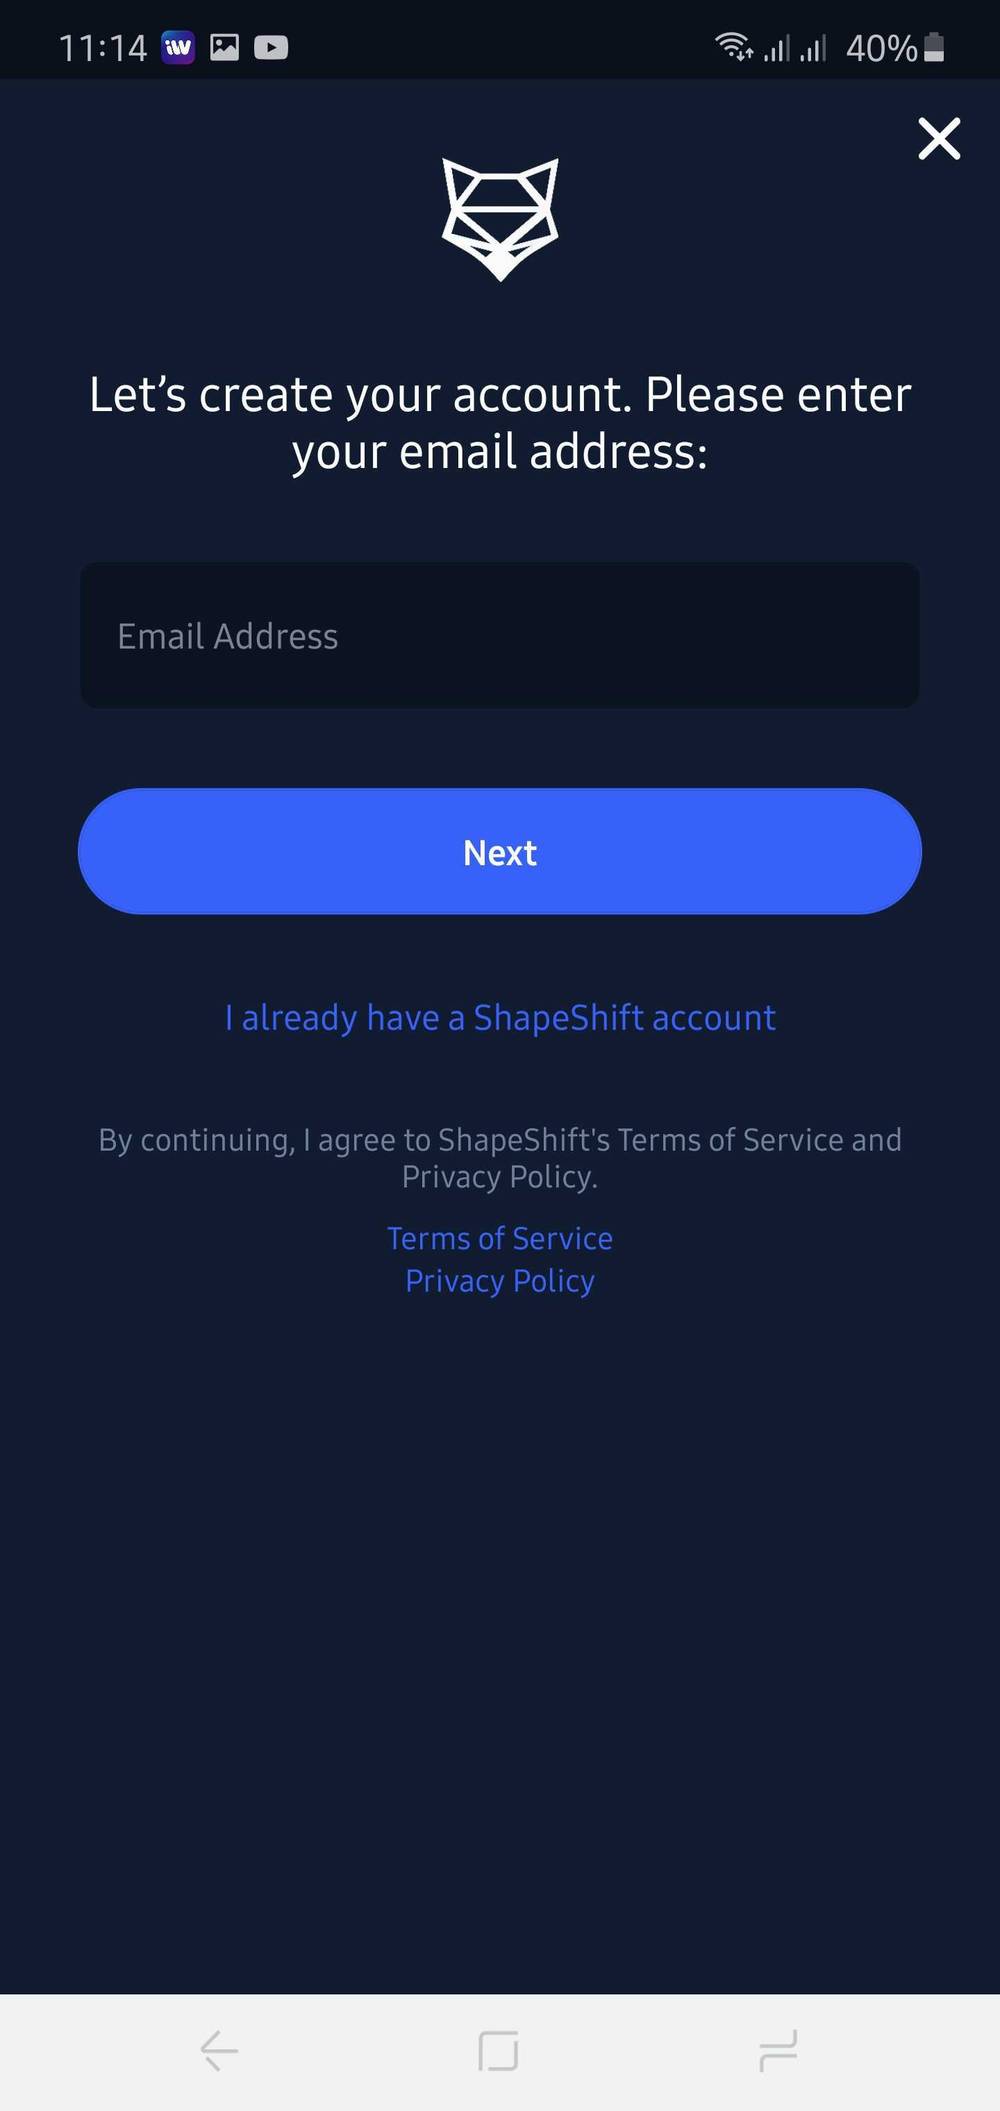
This part of the account creation will ask you only for your email and password, after which you will need to click on “Sign up.”
Shortly after, you will receive a confirmation email where you will need to click the link in it. That step will activate your account, and now you will need to enter your personal details: First and last name, date of birth, address, and phone number. Make sure all of those are correct before proceeding.
Verify your Account
Now you need to verify that you actually exist. You can verify your identity using a government-issued ID, passport, or driver’s license. Choose the one you want to use and enter the required details from it. The next step is to upload the document. You can either take a photo of it using your phone or upload it if you already have it scanned. Regardless of which method you choose, make sure that the details are visible and can be easily read. The verification process takes only a few minutes to complete.
Activate 2FA
The final step in the entire procedure is to set up 2FA or two-factor authentication. While this is not required to start using your Shapeshift account, I recommend setting it up. It takes a few minutes, and you will know that your account is perfectly safe. Navigate to the settings and click on “Setup 2FA”. The service will guide you through the process, and once you have that completed, you can start using the exchange.
How to Use Shapeshift with Coinbase Wallet
This part of the guide will outline how to transfer from Shapeshift to Coinbase and from Coinbase to Shapeshift. In other words, for the sake of the guide, I will explain how to exchange Bitcoin for Ether. For this part of the process, you will need to navigate between Shaepshift’s and Coinbase’s sites, so keep them open in separate tabs.
On Shapeshift’s page, you will see the option to choose the deposit and receiving coin. You can change them, but in this case, we are using Bitcoin and Ether. Click on the deposit and receive fields and select the required cryptocurrencies. Shapeshift will offer you to have a quick or precise trade. The quick one is basically set on autopilot with minimal input from your end, while you can control it for the precise one. My recommendation is to go for precise trade. Once you set everything as you want it, click on “Continue.”
This is where you will be entering the details of the transaction. You can enter the amount of Bitcoin that you want to deposit, and it will automatically calculate how much Ether you are going to get for it. The amount of Ether already has the miner’s see deducted, while on the top, you can see the entire conversion without any deductions. Additionally, you will also need to enter a refunding address in case the transaction doesn’t go as planned. The first field is the receiving address, while the second one is for the refund.
To fill out the receive and refund addresses, you will need to go to Coinbase. Navigate to your Ether wallet and click on “Receive.” Coinbase will provide you with the address which you will need to copy and paste it into the receiving address on Shapeshift. Next, go to your Bitcoin account and click on “Receive.” The address you get will be the one for a refund, and you will need to paste it in Shapeshift.
With everything filled out, agree to the terms and click on “Start Transaction.” Shapeshift will provide you with the address where you need to send the Bitcoin to. Go to your Bitcoin wallet on Coinbase and click on “Send,” paste in the address and send the coins. The process takes a few minutes, after which, if everything goes according to plan, you will receive your Ether.
Conclusion
Even though Shapeshift’s trading may not be as simple as some other exchanges, it is still not rocket science. Apart from the fact that you need to move from one tab to another and copy the addresses, the process is pretty straightforward. This is why I wrote this guide on how to use Shapeshift with Coinbase so that you can trade cryptocurrencies on your favorite non-custodian exchange.