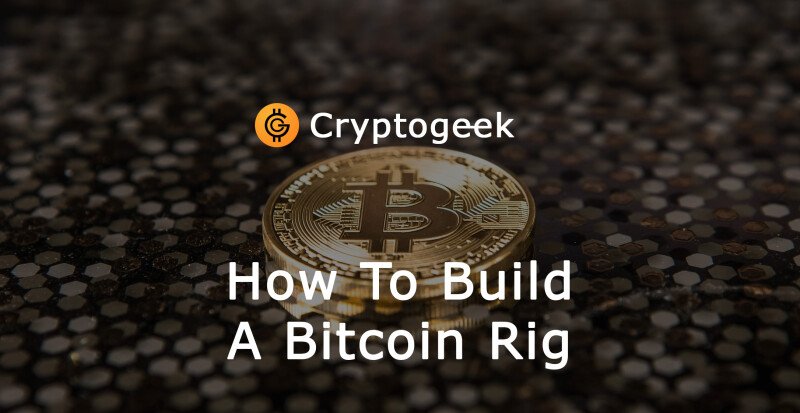
How to Build a Bitcoin Rig
Jul 30, 2022
2
How should I build a Bitcoin rig? This article will outline step-by-step how to build a bitcoin rig.
A mining rig is a collection of individual mining devices that work together to increase mining output power or hash rates, thus the rewards. Mining rigs are constructed using either GPU or ASIC units that have been pooled together.
When constructing a mining rig, the most important factors to consider are power consumption and mining efficiency, block reward, and currency value
This tutorial delves into building a mining rig from GPU selection to top questions about setting up a mining rig, assembling and setting up specifics, and mining on a GPU.
Factors to Consider When Creating a Mining Rig
Cryptocurrency to mine: The crypto's hashing algorithm, block reward, and pricing will all influence your decision when building a rig. Mining is highly competitive because crypto increases network hash rate and difficulty, requiring you to invest in high-end or high hash rate GPUs or ASICs. On bitiq.org/fr/ you can trade various cryptocurrencies such as Bitcoin and Ethereum.
Mining profitability: Some cryptos can only be mined profitably with an ASIC, others with GPUs, and others with CPUs. Power bills or electricity costs are also factors that affect profitability. We can perform these calculations accurately before purchasing the equipment. Other considerations include machine noise, heating, and cooling mechanisms, cost, and portability
Algorithm or crypto to mine: Because some cryptos are transitioning from proof of work to better algorithms, it is prudent to be prepared for the change before it occurs. When this happens, you should buy or build a rig that can be used to mine other cryptos.
Connectivity and dependability: Owning and operating a crypto mining rig necessitates the availability of stable power and an Internet connection. Profitable cryptocurrency mining necessitates this. Purchase or construct a rig for an algorithm that is here to stay.
How To Assemble the Mining Rig
Connect the Motherboard
It should be set aside from the mining frame. Place it on top of foam inside a package box. It can also be used to cover an anti-static bag. Release the lever that is holding the CPU plug protection in place. Before connecting the processor, apply thermal paste to the heat sink.
Connect the Processor to the Motherboard.
The processor (CPU) is connected to a power outlet on the motherboard. When connecting to the motherboard, the CPU is particular about synchronizing the connectors with the computer motherboard. If you get the arrangement right, all pins will fit comfortably.
Set up the RAM
Open the side brackets on the motherboard's slot and insert the RAM into the RAM socket. Once the RAM module has been successfully installed or locked into place adequately, the brackets snap.
Never force RAM slotting if it is not correctly aligned to the slot, as this may cause damage.
Connect the Motherboard to the Frame.
The motherboard will mainly be located on the mining frame's underdeck, while the GPUs will be on the upper deck. Make sure not to scratch the motherboard.
If the frame is metallic, it is best to use a wooden or plastic connection on which the motherboard should sit, and then the link is affixed to the edge. This inhibits any current short-circuiting if the arrangement is moved or disturbed. Otherwise, ensure that the circuit board only penetrates the metallic frame at the screw holes.
Connecting the Power Supply Unit (PSU)
Make sure it's close to the motherboard. The power supply cable is primarily connected to the motherboard's 24-pin (20+4) connector. This will provide power to the motherboard.
Connect the USB Expansion Cards to the Motherboard.
These are put together by inserting them into PCI-e x1 connectors. To power the risers and connect them to the motherboard, you'll need PCI-e pin connectors, SATA cable, or Molex connectors, depending on the model.
The opinions and assessments expressed in the text are the views of the author of the article and may not represent the position of Cryptogeek. Do not forget that investing in cryptocurrencies and trading on the exchange is associated with risk. Before making decisions, be sure to do your own research on the market and the products you are interested in.

Author and journalist. Have a bachelor's degree in History and several years of experience in different media


mail: jeffsilbert39 gmail. Com
WhatsApp +84 94 767 1524 Or WhatsApp 1 (470 ) 469-9769.
I advice everyone to always be careful because my experience with them cost me mentally and financially, thankful to the security agency that helped me to investigate and recovered my money mail Jeff on Jeffsilbert39 g Ma il c0m